Detecting a water leak inside a wall is a plumber’s rite of passage, a puzzle where the stakes are high and the clues are subtle. Left unchecked Plumbing services in Philadelphia, these hidden drips can rot wood, breed mold, and rack up repair bills. For a plumber, pinpointing the source fast and accurately is both an art and a science. Here’s a step-by-step guide to mastering this tricky task, blending old-school instincts with modern tools to save the day.
1. Listen for the Telltale Signs
Start with your ears. A leak often whispers before it shouts, hiss of escaping water, a faint drip, or a gurgle behind drywall. Turn off all appliances and faucets to kill background noise, then press your ear to the wall or use a stethoscope (a mechanic’s one works fine). Trace the sound’s path, up, down, left, right, to narrow the zone. It’s low-tech but sharp; water’s acoustics can lead you straight to the culprit, especially with copper pipes.
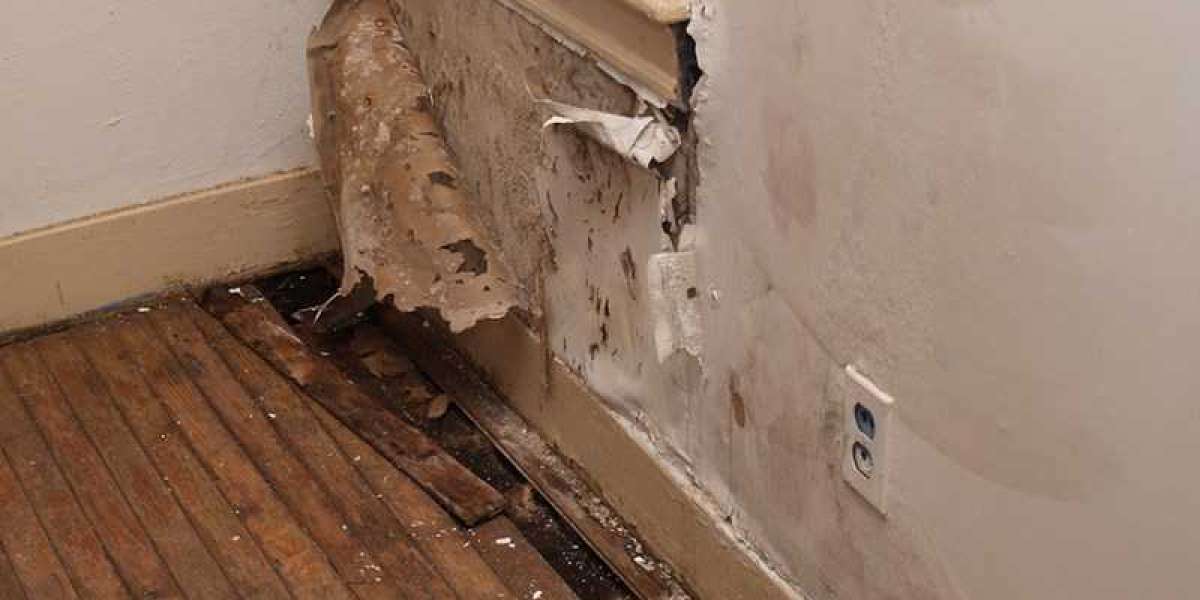
2. Spot Visual Clues
Next, play detective with your eyes. Walls don’t hide leaks quietly, look for damp spots, discoloration (yellow or brown stains), or bubbling paint. Check baseboards for warping or soft spots; water loves to pool low. Ceiling stains below a second-story wall? The leak’s likely above. Feel for cool, moist patches with your hand, drywall sucks up water fast, so even a small wet area flags a problem. Mark these spots with a pencil; they’re your treasure map.
3. Check the Usual Suspects
Leaks love predictable hideouts. Focus on walls near plumbing fixtures, sinks, toilets, showers, where pipes run vertically or horizontally. Kitchen and bathroom walls are prime real estate; a supply line or drain gone rogue often lurks there. Don’t skip exterior walls, frozen pipes that burst in winter can weep come thaw. Shut off the main water valve and watch: if dampness stops spreading, it’s a supply line. If it persists, suspect a drain. This narrows your hunt before you cut.
4. Use a Moisture Meter
When eyes and ears aren’t enough, grab a moisture meter, every plumber’s sidekick. These handheld gadgets (pin or pinless) detect water content in drywall or wood. Slide it over suspect areas; a spike in the reading (say, above 20% moisture) screams leak. Pin types jab in for deeper checks, pinpointing wet studs or insulation. It’s not foolproof, condensation can trick it, but paired with visual cues, it tightens your target, minimizing guesswork and wall damage.
5. Deploy Acoustic Leak Detectors
For ninja-level precision, wield an acoustic leak detector. These pro tools amplify pipe sounds, hisses, whooshes, through a microphone pressed to the wall. Adjust the sensitivity, move methodically, and zero in where the noise peaks. They’re gold for pressurized lines (hot or cold water) and can hear through thick drywall or tile. Pricey? Sure, but they save hours of hacking, making them a worthy investment for a busy plumber.
6. Try Thermal Imaging
Leaks shift temperatures, cool from water, warm from a hot line. A thermal camera (like a FLIR One) catches these shifts, painting a heat map on your phone or screen Plumbers Near Me. Scan the wall: a cold streak snaking vertically might be a supply leak; a diffuse chill could be pooling drainage. It’s not cheap, but it’s non-invasive and fast, spotting trouble without a single cut. Calibrate it in a dry area first, context is everything.
7. Test with Pressure and Dye
Still stumped? Get hands-on. For supply lines, isolate sections with shut-off valves and use a pressure gauge, drops below normal (50–80 psi) flag a breach. For drains, pour a non-toxic dye (food coloring works) down the suspect fixture and watch the wall. A colored seep confirms the spot. It’s slow but sure, especially when pipes are buried deep or tools falter. Patience here pays off.
8. Cut Smart, Confirm, Repair
Once you’ve locked the location, say, a 2x2-foot wet zone, cut a small access hole with a drywall saw. Start low if water’s pooling, high if it’s a top-down drip. Peel back insulation gently; a soaked patch or dripping pipe clinches it. Fix it, solder copper, patch PEX, replace fittings, then dry the cavity with fans before patching. Minimal cuts keep homeowners happy and your rep intact.
Conclusion:
Finding a water leak inside a wall as a plumber blends instinct with tech. Listen, look, target hot spots, lean on meters, detectors, or cameras, test with pressure or dye, and cut only when sure. Each step hones your fix, sparing the wall and the wallet. Master this, and you’re not just a plumber, you’re a leak-whisperer, turning soggy mysteries into dry victories, one wall at a time.
Relevant Searches: Compare Your Parking Deals