Introduction
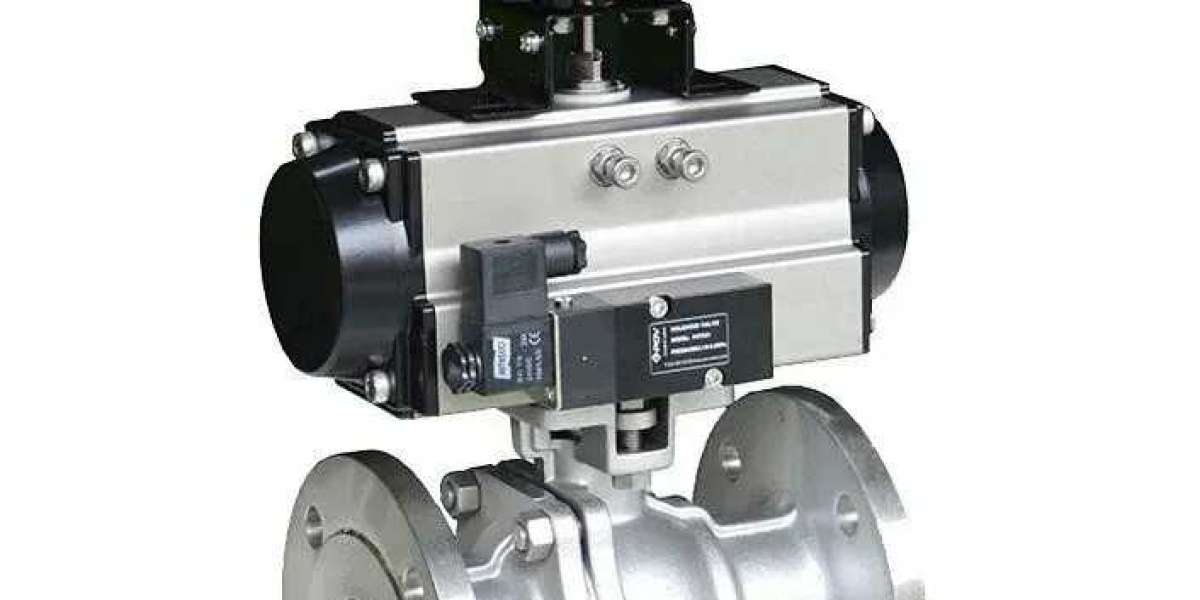
Pneumatic solenoid valves are vital components in modern pneumatic systems. They are widely used in industries such as manufacturing, automotive, aerospace, and HVAC to control the flow of compressed air or gases, enabling automation of various processes. These valves operate using an electromagnetic solenoid that either permits or blocks airflow, allowing for precise and automated control.
Understanding how to correctly wire and maintain these China Control Valves is essential for ensuring their efficient operation and longevity, contributing to the overall success of your pneumatic system.
What Is a Pneumatic Solenoid Valve?
A pneumatic solenoid valve uses an electromagnetic solenoid to control the flow of air or gases within a pneumatic system. When the solenoid coil is energized, it creates a magnetic field that moves a plunger, which in turn opens or closes the valve. This automation improves efficiency by enabling air flow control without manual intervention.
Pneumatic solenoid valves vary in size and complexity but share the common function of regulating compressed air flow to power machines and control equipment.
How Does a Pneumatic Solenoid Valve Work?
The primary components of a pneumatic solenoid valve include:
Solenoid Coil: An electromagnet made of copper wire that generates a magnetic field when energized.
Plunger: A movable core inside the coil that moves in response to the magnetic field to open or close the valve.
Valve Body: The outer casing that houses internal parts and contains input and output ports for air flow.
Air Ports: Pathways that direct compressed air into or out of the valve to various system components.
When the solenoid coil is energized, the magnetic field moves the plunger to open or close the valve, allowing automatic air flow control.
How to Wire a Pneumatic Solenoid Valve to a Power Source
Step 1: Gather Necessary Tools and Materials
Pneumatic solenoid valve
Appropriate power supply (AC or DC)
Wires (correct gauge for current load)
Connectors compatible with valve terminals
Screwdriver
Wire stripper
Electrical tape (optional)
Multimeter (for verifying connections)
Step 2: Identify the Solenoid Valve Terminals
DC Valves: Have distinct positive (+) and negative (-) terminals. Connect accordingly to power source.
AC Valves: Terminals are non-polarized; wires can be connected to either terminal, but follow manufacturer guidance for safety.
Step 3: Prepare the Wires
Strip approximately 6 mm (1/4 inch) of insulation from wire ends without damaging the strands.
Step 4: Connect the Wires to the Valve
Attach the positive wire to the valve’s positive terminal (for DC), and the negative wire to the negative terminal. For AC valves, connect wires to either terminal securely.
Step 5: Connect the Wires to the Power Supply
For DC: connect positive to positive, negative to negative terminals on the power supply.
For AC: connect wires to live and neutral terminals as per guidelines and voltage rating.
Step 6: Secure the Connections
Tighten terminal screws firmly. Use electrical tape if necessary to secure connections and prevent accidental loosening.
Step 7: Test the System
Power on and listen for a “click” as the valve operates. Use a multimeter to verify voltage and continuity if the valve doesn’t work as expected.
How to Properly Clean and Maintain a Pneumatic Solenoid Valve
Step 1: Turn Off the Power
Always disconnect the valve from its power source before maintenance to avoid electrical hazards.
Step 2: Disassemble the Valve
Carefully remove the solenoid coil and plunger from the valve body, noting the order for reassembly.
Step 3: Clean the Valve Body
Use a soft cloth, brush, or compressed air to remove dirt and debris. Avoid excessive pressure.
Step 4: Clean the Solenoid Coil and Plunger
Wipe the coil with a dry cloth only (no liquids). Clean the plunger with a lint-free cloth or mild cleaning agent if needed.
Step 5: Inspect Components
Check for corrosion, wear, or damage. Replace parts if necessary.
Step 6: Reassemble the Valve
Align and secure all components properly to prevent leaks or malfunctions.
Step 7: Test the Valve
Reconnect power and verify smooth operation without unusual sounds or leaks.
Conclusion
Proper wiring and maintenance of pneumatic solenoid valves are key to reliable, efficient pneumatic system operation. By following the steps outlined in this guide, you can ensure your valves perform well and last longer, supporting smooth automation processes.
Always prioritize safety: use correct tools, follow manufacturer instructions, and double-check all electrical connections. With these precautions and routine care, your pneumatic solenoid valves will remain dependable components in your systems for years to come.Know more about Google SEO Directory